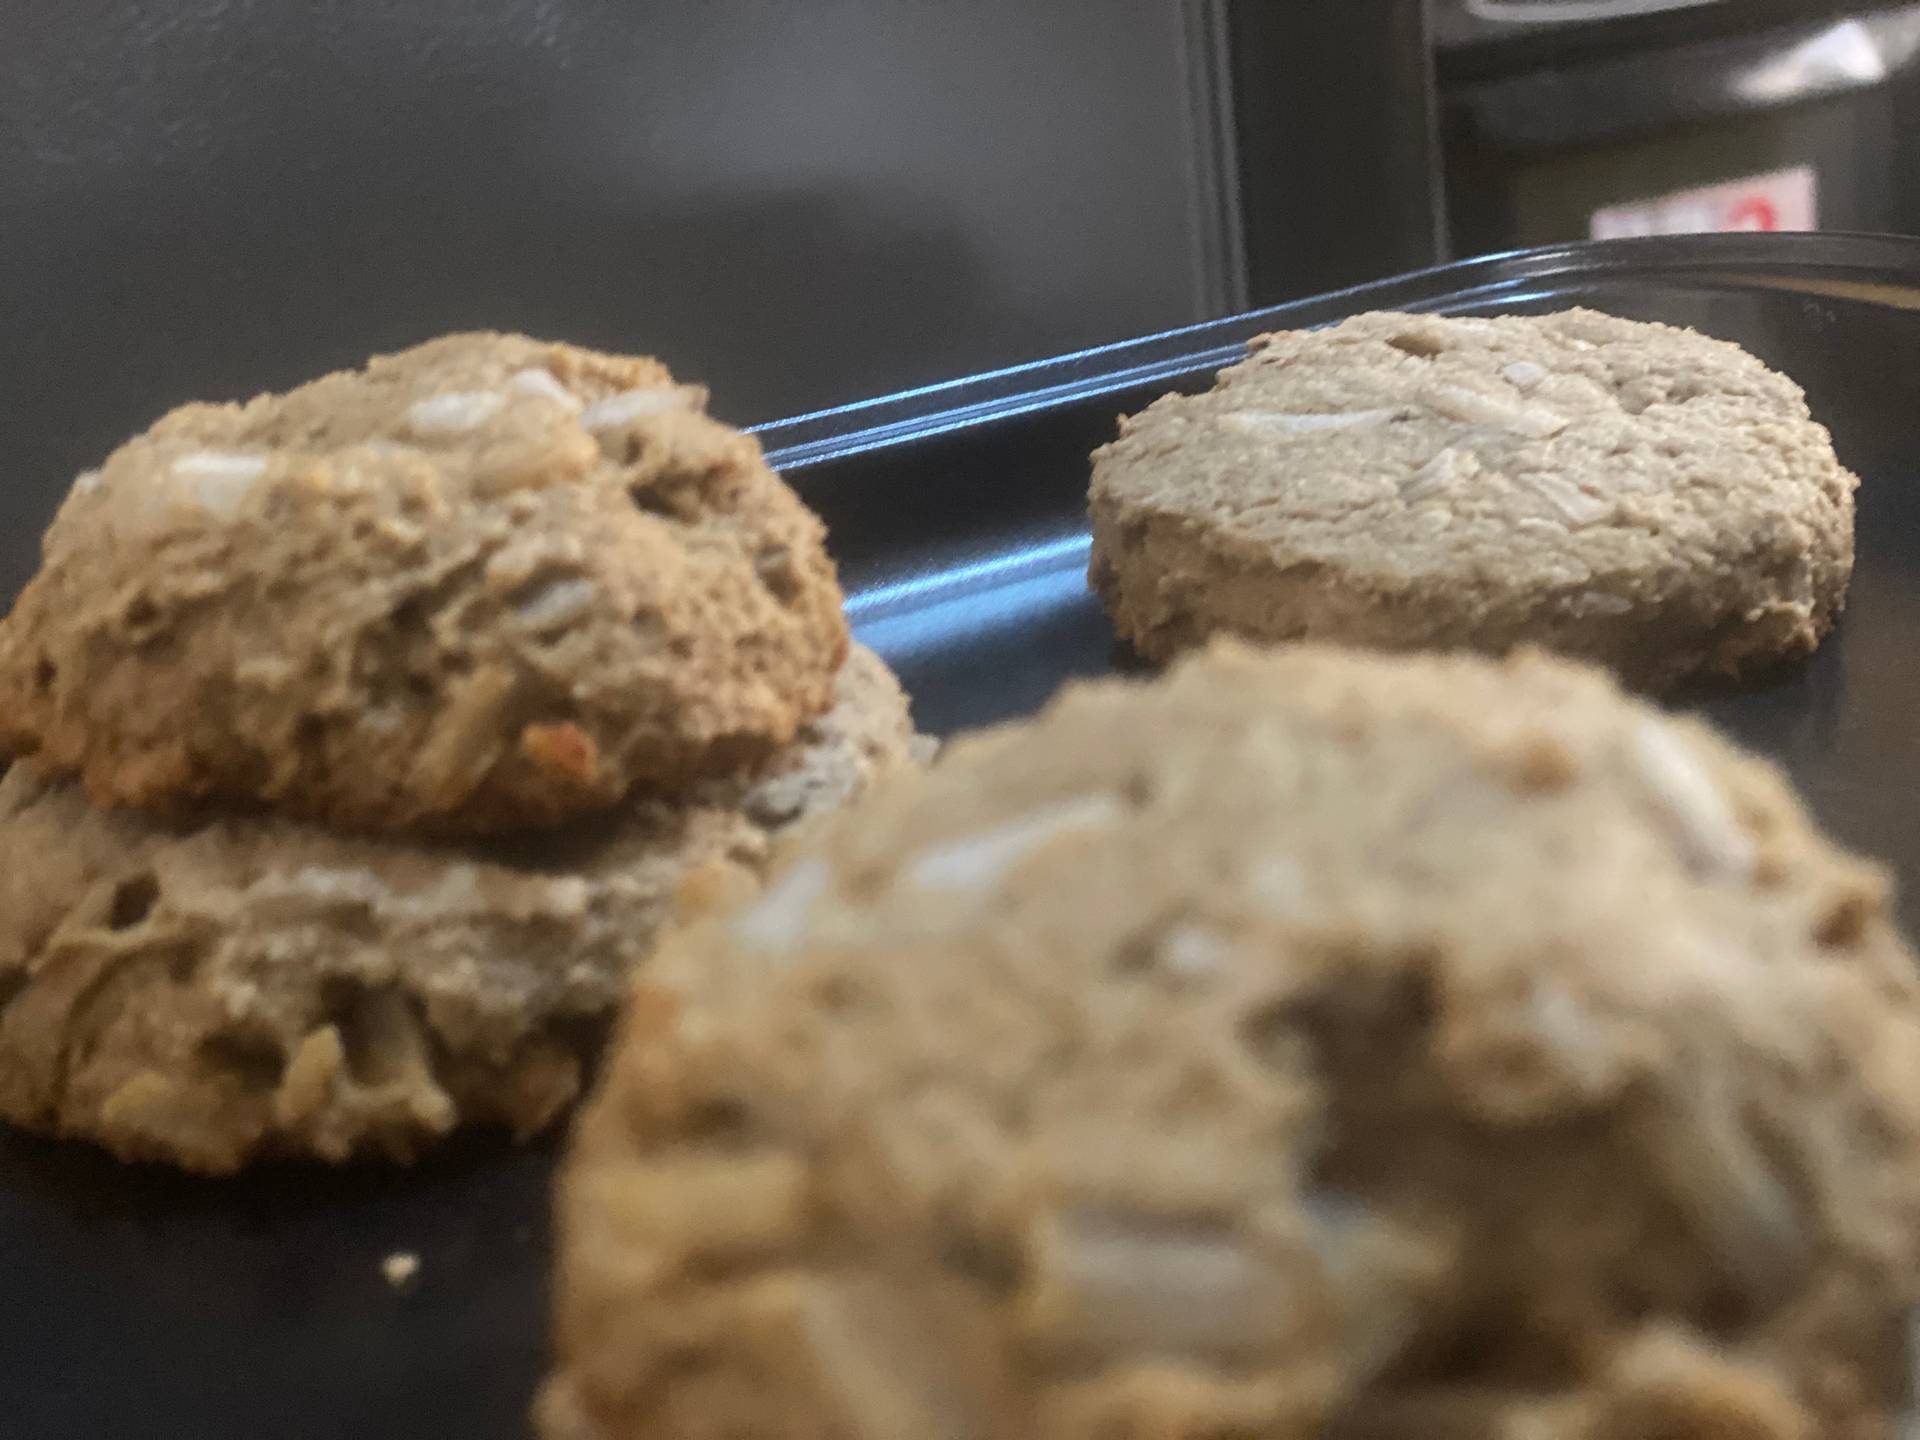
One of the downsides of working from home is spending a major part of the day looking at screens. When off-screen, the brain still continues solving problems ahead of the next day. To resolve this, I try to look for activities that doesn't involve looking at screens. I used to cook passively until the burnout from remote work hit me, making me more delibrate about cooking. Cooking helps me disconnect from work and reduce my screen time significantly.
Cooking is one of the activities I enjoy doing, mainly because I love eating and derive so much joy when I see the outcome of the combination of various ingredients come to life. Getting positive feedback from friends and family reinforces my pursuit to keep improving my cooking skills, so I'm always on the lookout to try something new.
Masterclass recently introduced SessionsSessionsLevel up to a whole new you in just 30 days Get step-by-step guidance from our world-class instructors and learn through hands-on doing. You will walk away with everything you need to unlock your full potential., a 30-day hands-on course taught by world-class instructors. Lo and behold, baking was one of the courses they launched with. I quickly got some of the important utensils and ingredients in preparation for the baking session.
Ingredients
(use two columns for this list)
- 2 large eggs
- Bread flour
- All purpose flour
- Baking soda
- Brown sugar
- White sugar
- Butter
- Vanilla extract
- Milk chocolate
- Bittersweet chocolate
- Salt (Kosher)
Take #1 (Chocolate chunk cookies)
The first step in cooking or baking is prepping. Prepping basically means getting all ingredients ready to use on the go. When making cookies, this involves measuring out all the ingredients and separating the dry ingredients from the wet ingredients and toppings. Following the instructors guidance, I grouped my ingrdients in differnt bowls like this:
- Flour, salt and baking soda
- Eggs and vanilla extract
- White and brown sugar
- Butter
- Chocolates (Milk and bittersweet)
All wet ingredients must be at room temperature.
With prepping done, combining the ingredients in stages is the next step. In the mixer, I added the butter and sugar. The mixer is supposed to whip the butter and sugar till a light cream is formed. The mixer should be at a medium speed to avoid overbeating the butter, which could lead to an unusable liquid cream. The mixer should be turned off intermettiently to allow scraping the overflows back into the center of the bowl. Whipping should take about 6 - 8 minutes. However, intuition will come into play because mixers might perform differently.
When the cream is ready, the vanilla and egg mixture goes in slowly. Finally, the flour and chocolate combo is added to the cream. To avoid gluten development, the flour should be mixed slightly in the mixer and finished by hand. Gluten development will make the cookies chewy like bread. That's it for the dough! The dough should be refrigerated for at least 3 hours. Refrigerating overnight is advisable as it allows all ingredients to marry properly.
Before baking the oven needs to be pre-heated. While pre-heating the oven, I removed the cookie dough from the fridge and shaped them on the baking tray. The cookie was baked till golden brown, about 15 minutes in the oven. I left them on cooling rack and they were good to go.
Take #2 (Oats and nuts)

With a fair understanding of cookie making, I decided to try out a healthy version suitable for my mums (yes, I currently have three mummies). To do that, I replaced:
- Flour with Old Fashioned Oats
- Butter with Greek Yoghurt
- Sugar with Honey
- I used cashew nuts and coconut shavings because I was out of chocolates, not because I was making a healthier version
The outcome was a delicious cookie with a crumbly texture. The liquid ingredients were probably too much. Also, the protein to bind the dough was probably not enough as well. Either way, my tasters finished the cookies and nothing wasted. Yay!
Feedback
- It's really tasty
- It's a good snack for work
- It's too sugary
- It's a tad too brown
Lessons
- Whipping: I used a hand mixer to whip the butter and sugar. I ended up with a grainy cream which affected the final result. I need to learn how to use a hand mixer to get a consistent cream.
- Butter: I used a butter that melts at room temperature. I'm going to switch to cooking butter and note the outcome.
- Oven: I was supposed to bake at 175°C, however, my oven doesn't go below 200°C. I had to improvise by reducing the baking time and doubling the baking tray.
- Honey: Since honey is liquid, I suspect it affected the baking of the oats cookies.
- Greek Yoghurt: The greek yoghurt I used was slightly watery. I'll try out a more viscous, sweetened yoghurt.